Showing posts with label Crafts for Kids. Show all posts

Easter Traditions are Fun!

But on the first day of the week, at early dawn, they went to the tomb, taking the spices they had prepared. And they found the stone rolled away from the tomb, but when they went in they did not find the body of the Lord Jesus.  As Found in Luke 24

I love Easter Sunday morning!  I can't wait to celebrate the empty tomb.  
Dyeing eggs is something I could do year round just for fun.   This week we have gathered with friends several times to spend time together to celebrate the Risen Son.  During all of our celebrating we boiled some eggs and mixed some dye and colored eggs.  I have these eggs called Resurrection Eggs and they are pretty cool.  We also planted flowers in celebration of spring and life.  Each child brought flowers to trade.  I just wanted to share our celebration with you.  

What traditions do you share with friends and family during Easter?


I'm tickled to death that Emily came to celebrate with us all the way from New York.  She was the flower girl in my wedding 10 years ago.  She's going to be such a blessing to me this summer when she comes back to be my "Nanny" for the summer.  Yay Me!

Happy Easter everyone and may God rain his blessings down upon you this Easter.

Flour Power!


I was reading a post by MiniEco today and realized I'd never posted about playing with flour.  It's less messy than you think, safe and SUPER fun!  Our favorite activity is to put flour in my large cake pan and go driving in the "snow".


It's easy to clean up and can be used over and over again.  They never get tired of this stuff.  Visit Mini-Eco soon, she is doing boredom busters and the current theme is flour.  If you have an idea, submit it for the list she is compiling.   Be sure to tell you Aimee from HomeSpun-Threads sent you. 


Now, be brave and have fun!


Silhouette Shrinky Dink Charms


The kids can't have all the fun with Shrinky Dinks!  I mean come on.  It didn't take this mom 2 seconds to get in on the Shrinky Dink fun.  We colored and cut and I experimented.

Coopeman making Hiccup a dog tag.
 I ran upstairs with a piece of Shrinky Dink paper, pulled up an image of the silhouettes of my babies and used my computer screen like a light box.  I traced the image of the silhouettes onto the Shrinky Dink paper with a fine tip Sharpie and added their names and the year of the silhouette.


I know it doesn't look like much before hand but these started off at about 2" tall and then I put them in the oven on parchment paper.  Oven was set on 350 degrees as suggested on the shrinky dink instructions.


The above picture is the Shrinky Dink in action.  It is curling in the oven and looks as if it could not possibly come out right but it does.  I added the charms to a necklace that a friend gave me last year.  The charms are so delicate and fun to look at.  


Then for fun, I made these.


A one inch circle cutter and a regular hole punch made these super tiny buttons.  I'm thinking how cool would it be to sew a button in your child's jacket with the owners information for just in case.  Also, fun valentine buttons to wear on your sleeve.  Bigger whole punches would give you so much more freedom.  I really need to find my 2" whole punch.

P.S.  After I posted this I started looking for other Shrinky Dink ideas.  Check these out.


You can find my source here.
Happy crafting!

Free Vintage Paper Dolls

 Paper Dolls are so awesome and I remember when I was about 2 years old. My grandmother had given a present for my birthday and it had paper dolls all over the wrapping paper. I was more excited about those paper dolls than I was about the present. Some 25 years later I was helping her clean out her attic and ran across a partial roll of that wrapping paper. 

So, I took it home with me and kept it hidden in with my other wrapping papers. Now, I know that wrapping paper is at least 30 years old or better but it is still just as charming as it was then.


I decided to scan the images and crop them so that other little girls can have their own little paper doll collection. They are a lost toy that we should all be able to play with. I wish I knew the maker of this paper but that part of the wrapping paper was damaged and what I could see didn't have a maker. So, I assume that the artist that drew these images has been well paid for them and would love for them to be shared. I'm going to ask that anyone that uses these or copies them does so freely and with out any monetary gain. They are too precious! Click Here for the PDF

Super Heroes At the Zoo

What better way to keep up with your kids in a public place than to give them the pleasure of being super heroes all day long. 


Evan is the fastest super hero!


Little Bit just tries to keep up.
My favorite super hero's ever!

Sidewalk Chalk to the Rescue!

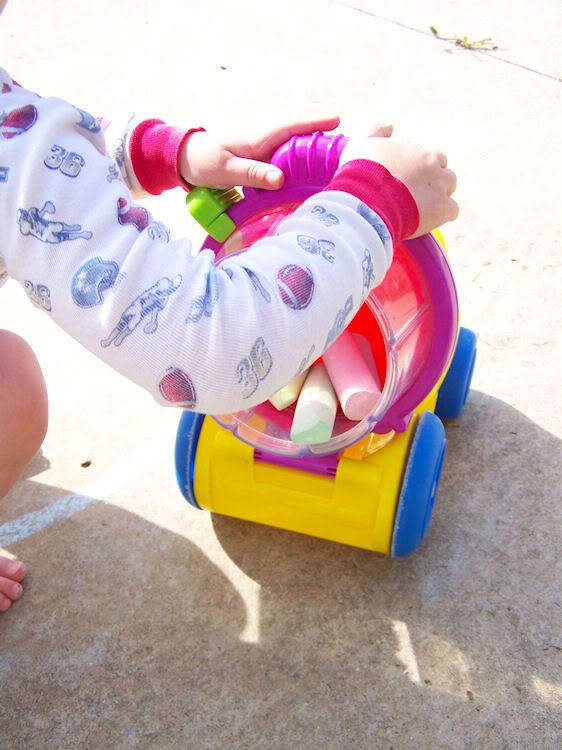
You can't just give a kid or in my case, kids, a bucket of sidewalk chalk and expect them to know what to do with it.  Well, not my kids anyway.  They just sort of scribble a little line here and there and have no imagination with such a big canvas and such cool mediums.  

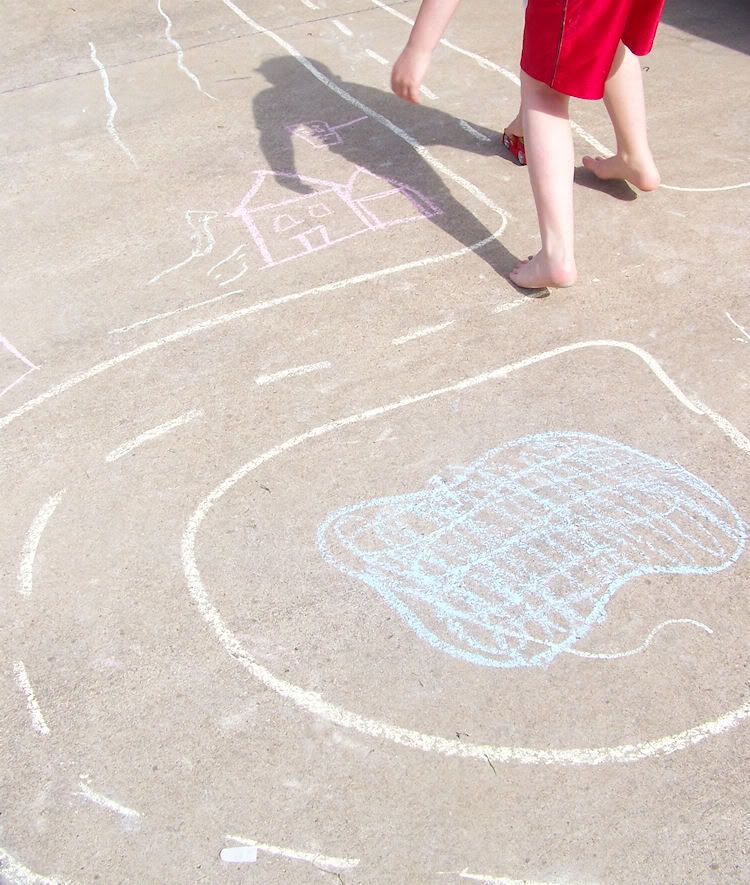
So, with a little direction, these kids are inspired to draw and play for hours.  Check out the community they drew and it even has it's own helicopter landing pad and train station and pond for fishing.


Once the creativity starts flowing all kinds of creations start to emerge.  Big man even thought it would be a good idea to have a giant helicopter.


Even the fire truck found parking at the train station.


Another idea, would be to make your own sidewalk chalk paint.  Skip To My Lou has a recipe that would be super fun on a warm sunny day to keep the kids busy.


CLICK HERE to visit Skip to My Lou to enjoy her fun spin on sidewalk chalk.


photo by Skip To My Lou

The Importance of Playdoh

Sometimes, we are scared to give our little ones playdoh. What if they eat it? What if they get it in the carpet? What about cleaning it up? Playdough is very important for your child. It just takes some supervision on your part but if you're like me, you just let'em have at it and then clean up the mess as long as they sit in their seats at the table.


The mess isn't bad as long as you make a rule that it stay on the kitchen table or any hard surface you prefer for easy clean up. I do them outdoors...

and indoors...

Why is it so important???

It helps your child develop those little muscles in his fingers and hands. Think about it. There is work involved in using playdoh: pounding, stretching, pulling, squeezing, cutting, etc. When children use playdoh together or with you they are also learning to share. Talking about colors and shapes of playdoh also increases language and you can even talk about the things they make. 

 Below are some tips...
1. Always supervise.
2. Create with them.
3. Provide safe tools.
(cookie cutters, play utensils, rolling pins and plastic scissors)
4. You can protect your surface by purchasing a cheap plastic tablecloth.
5. Provide lotsw of colors, let them mix the colors. Playdoh is cheap!
6. Make your own playdough together. (see below)
This is an edible version! YUMMM!

 
Make Your Own Standard Playdough!
This one is not so edible...
1 cup of flour
1 cup of water
1/2 cup of salt
2 tbsp cream of tartar
1 tbsp veggie oil
Food coloring (wait)
Mix ingredients together (except food coloring) ina saucepan.
Cook over low to medium heat, stir continuously until mixture forms a ball.
Let it cool slightley, knead in the food coloring in your hands.
Store in a airtight container.
Have fun with your kids using playdough!
However, let it go if your child gets sick of it. There will be plenty of chances to play together.
Recipe and some tips from www.chartart.org/playdough.htm


Oh, and take pictures!!!

Starting my First Vegetable Garden

 
If you haven't heard then let me tell you, because it's a great idea.
Save those egg shells!
When I crack mine, I crack the skinny end and pour the egg out, rinse and pop it back into the carton for a time such as this.
My kids like to collect seed packets and I'm bad about planting them, except for the year we threw out old sunflower seeds in my front flowerbed for fun!
Let me tell you, we were rich in sunflowers that year.
 
 Spoon a teaspoon or so of potting soil into each egg.  I literally used my old "tea spoon".
I love it because it has a long handle and it reaches into my potting soil back with ease.
Plus, it was my grandmothers so it makes all of these effort feel nostalgic.
 
The great thing about using the carton is it contains the mess
 
Now!  Put your seeds into your eggs, I put in several in each or just sprinkled them in becuase I have NO idea of they'll actually make it or not, so just like a fertility doctor I'm implanting more than just a few.
Write on each egg with a pencil the name of the plant your are going to grow in that egg.
 
Now water with ease! To moisten the soil under the seeds.
Add more soil to the tops and you're done.
Now set these beauties in a window sill for sun and keep them moist.
Let them grow a bit and put them out.
I'll show you the results as they grow!
Oh and I got this today on my Kraft "Food and Family" Magazine.
It's free so go sign up for their inspiring reads...
 
I'm supposed to be able to plant this card and it will grow into a crisp head of lettuce
to eat with my Kraft Ranch Dressing...which I do like!
Now this is something you will want the kids to enjoy!
So save those eggs, hunt up some seeds and get them involved in some good clean horticulture!
Stay tuned for the next step...first we gotta get these babies growin'